Olan Suddeth
Dad. Computer geek.Homebrewer. Disney nut.
Would-be crafty guy.

Amazon
Save Money
Ibotta
Fetch Rewards
(use code "116YB")


When you own a house, you can pretty much guarantee that there will always be projects that need your attention. Our home is no different; for some time now, I've really needed to rebuild our front stairs due to age and some rotting issues thanks to water from the roof. The task had been put off more than it should have, due to various reasons; financial concerns, Gideon's birth and NICU stay, baseball season, my character flaw of procrastination. But with my income tax refund in hand and a break in the baseball season, it was time to get this project done.
To be fair, I've always enjoyed rough carpentry. Lumber is fairly forgiving to work on; if you're off by a fraction of an inch, it's seldom the end of the world, and the end result of your labor tends to be quite satisfying. Building porch stairs is a DIY home improvement project that should be well within the ability of most able bodied adults; with a weekend and a helper, you can probably wrap things completely. I did drag things out a little longer than that, but it still was a relatively simple project with a big payoff.
Materials List
All lumber was pressure treated pine- 3 - 2x12x12 (stringers)
- 4 - 2x12x12 (stair treads)
- 1 - 2x6x8 (toe board)
- 2 - 80 lb sack concrete mix
- 2 - 4x4x8 (posts)
- 4 - 2x4x8 (handrails)
- 4 - 5/4x6x8 (handrails)
- 26 - decorative spindles
- 2 1/2 inch wood screws
- 16d coated sinker nails
Tools needed for this project
- Sledgehammer
- Pry bar
- Shovel
- Post hole diggers
- Wheelbarrow
- Framing level
- Hammer
- Tape measure
- Circular saw
- Hacksaw or jigsaw
- Cordless drill
- Framing square
- Pencil
- String
The sledgehammer and pry bar were used for tearing the old stairs down. The shovel, post hole diggers, and wheelbarrow were needed for digging up the old posts and mixing concrete for the new ones. Everything else was needed for the construction of the new stairs themselves.
I have linked certain tools in the list above that I own and seriously recommend. You'll notice a lot of DeWalt and Stanley in that list, and for good reason. While I tend to be thrifty (some might say "cheap") in most areas of life, I learned a long time ago that the old adage of "pay once, cry once" applies to tools. In other words, pay the higher price for quality tools, as opposed to paying a little less for junk that does a sub par job - and that you'll end up needing to replace sooner rather than later.
For instance, I've owned my DeWalt circular saw and jigsaw for roughly twenty years; the circular saw was used extensively to help me build this house, the jigsaw saw a ton of use when I was a cabinet maker. That Stanley hammer of mine has lasted for better than twenty years and has seen many, many projects, and that Stanley pry bar is absolutely indispensible when it comes to tearing something down. I've only had my DeWalt Cordless drill for a year or so (replacing one that I had for the better part of twenty years), but it is an absolutely incredible tool. Lightweight, powerful, and I never had to change a battery for the duration of this project.
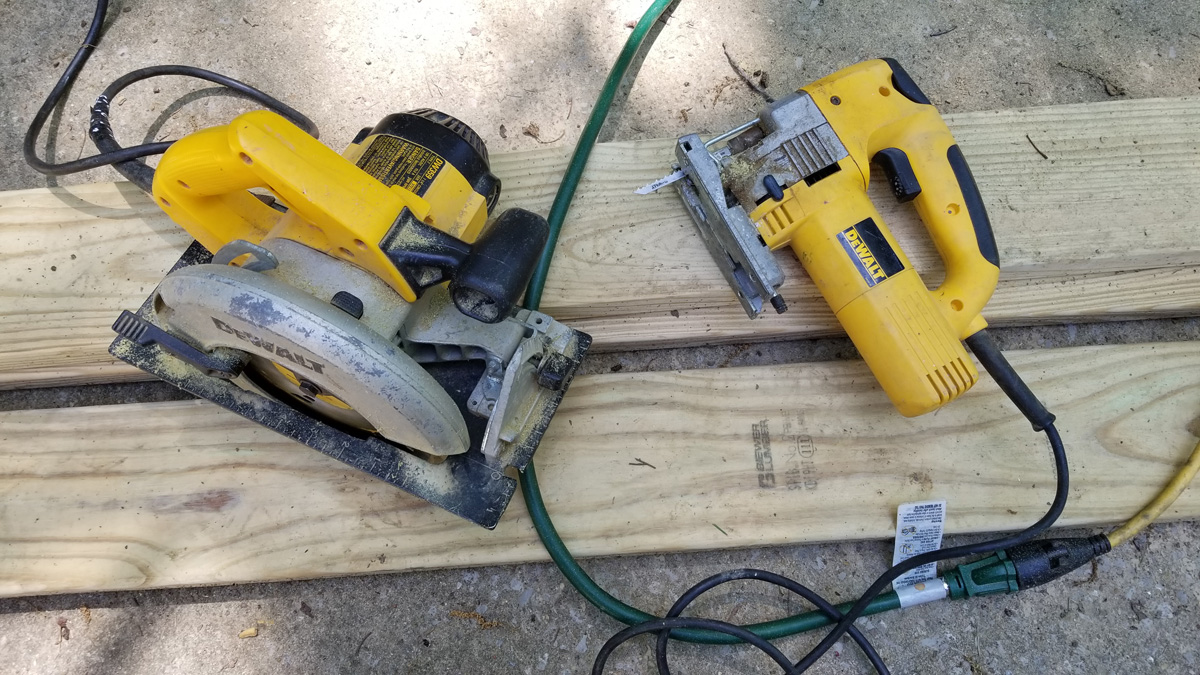 My well-loved DeWalt circular saw and jigsaw.
One tool not listed above is a speed square (aka "rafter square"). You don't have to have one of these, but it's quicker and easier to use than using a bulky framing square when it comes to trimming lumber to length.
We started off with the obvious first task of demolishing the old stairs. This was the area I enjoyed the most help from the boys with; Noah and Silas took part, and even Jonah joined in for a bit. Noah discovered that swinging a sledgehammer wasn't quite as easy as it looked... and I discovered that some of my old screws had rusted heads that stripped, forcing me to break some boards. By the time we were done, I had damaged the first two boards on the porch itself, necessitating their replacement.
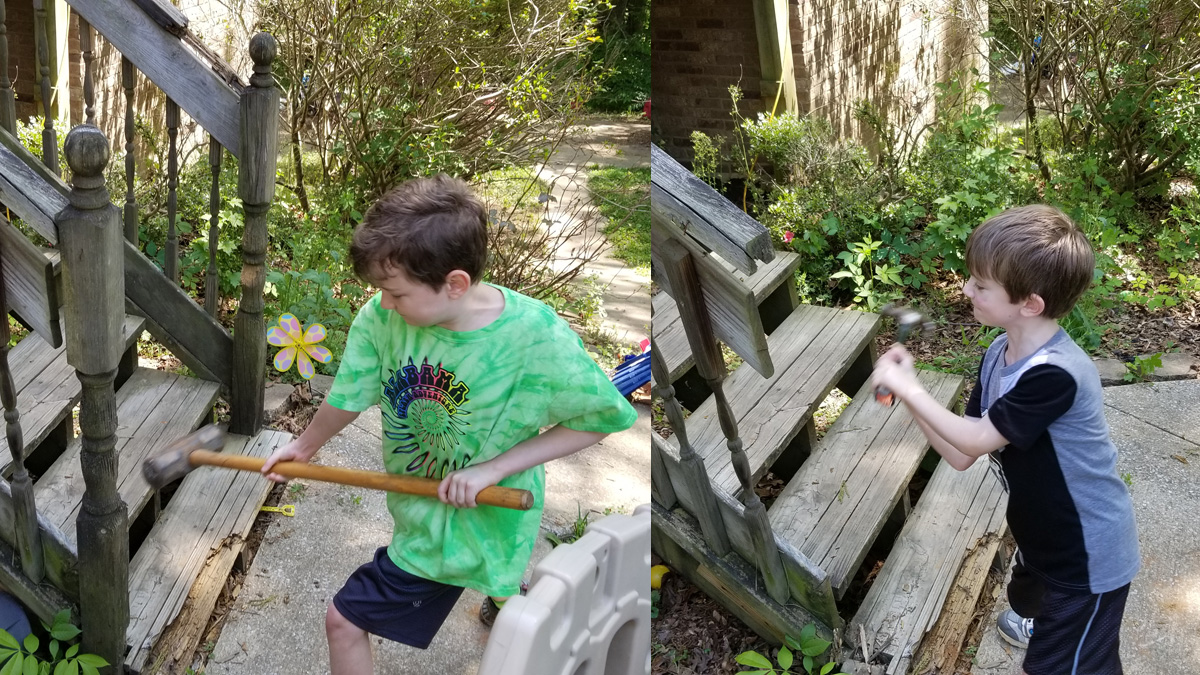 The fun part of construction - tearing stuff up.
One task I had dreaded was digging up the old posts, but this turned out to be a non issue - due largely to the fact that they were barely set in concrete. No wonder they got so wobbly!
Upon tearing the old stairs down, I changed the plan slightly, and decided to make the stairs wider. In the past, we'd had a short section of rail that narrowed things by nearly two feet; I removed those sections, and rather than rebuild them, decided to use the entire (nearly six feet) for the new stairs. That did necessitate an extra trip to Lowe's to swap out some lumber, but the result would be well worth the effort.
The first new construction task had me digging new holes and setting my 4x4 posts in concrete. Freezes are not a major concern here in Alabama, so roughly eighteen inches down was far more than enough to get my below the frost line. Noah and I mixed concrete, measured the distances, set the posts, leveled them... and discovered a typical Olan mistake when I walked back to the road to inspect the work. By not using string to start with and then checking for squareness, I had set the posts about a full width too far to the right. Not wanted slanted stairs, I dug everything out (fortunately, the concrete had not yet set up), moved the posts over, added more concrete. I still wasn't perfect, but could deal with being perhaps a half inch or so off.
The next day - and minus Noah's help, who had gotten bored with the concrete work - I stared in on the stringers (the angled boards that actually hold the stair treads themselves). Once upon a time, I had laid these out myself after complex calculations, but this time around, I cheated - I made sure to save the center stringer from the old stairs, laid that on top of a new 2x12, and traced the "pattern" with a pencil. I then cut along the pattern with my circular saw, stopping at the intersection of my lines.
Due to the nature of a circular saw blade, you simply cannot cut out notches like this using this tool without over cutting and weakening your wood. The proper way to do this is to cut to the point where your lines are met on the top, then come back with either a hacksaw or a jigsaw to cut out the remainder. In my book, hacksaws and the resulting extra manual labor are for the birds, so I used my jigsaw to finish the job. I then used my original pattern to cut out two more stringers; always try to use the same pattern every time, as opposed to using the results of a pattern as a new pattern, as any minor mistakes you make will be further amplified on subsequent iterations.
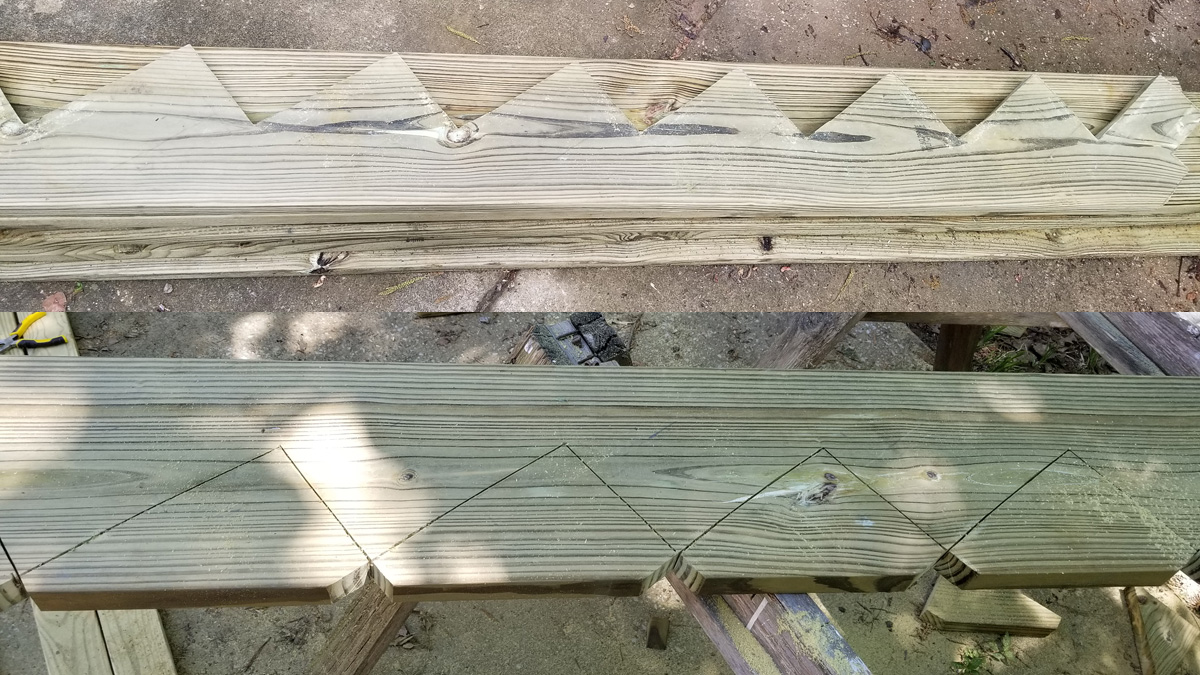 Top - using the old stringer as a pattern for the new.
Bottom - stringer notched with circular saw, ready for final cuts.
Silas proved to be my most interested and reliable helper, though a lot of his "help" did consist of him smashing the old spindles with a hammer, or sneaking off to hit the back of a tree with said hammer. However, he did contribute with holding and marking things, as well as with simple companionship - which you just cannot undervalue. He and I had a great time listening to music on my JBL bluetooth speaker while we worked - and I'm not going to apologize for the fact that somehow, Lady Gaga ended up featuring heavily in our song rotation.
 Silas with the tool we enjoyed the most - my bluetooth speaker (photo links to Amazon page for it).
My stringers included a notch at the bottom, which I nailed a 2x6 toe board to (after allowing both Noah and Silas to hammer some nails). This gave me a solid unit which Noah helped me rotate into place. I'd like to claim that I attached things here and went on about my business, but the fact is, my angle was a bit off, so I had to shave the tops of my stringers. Once this was fixed, however, I did attach the stringers to the house and continued with my business.
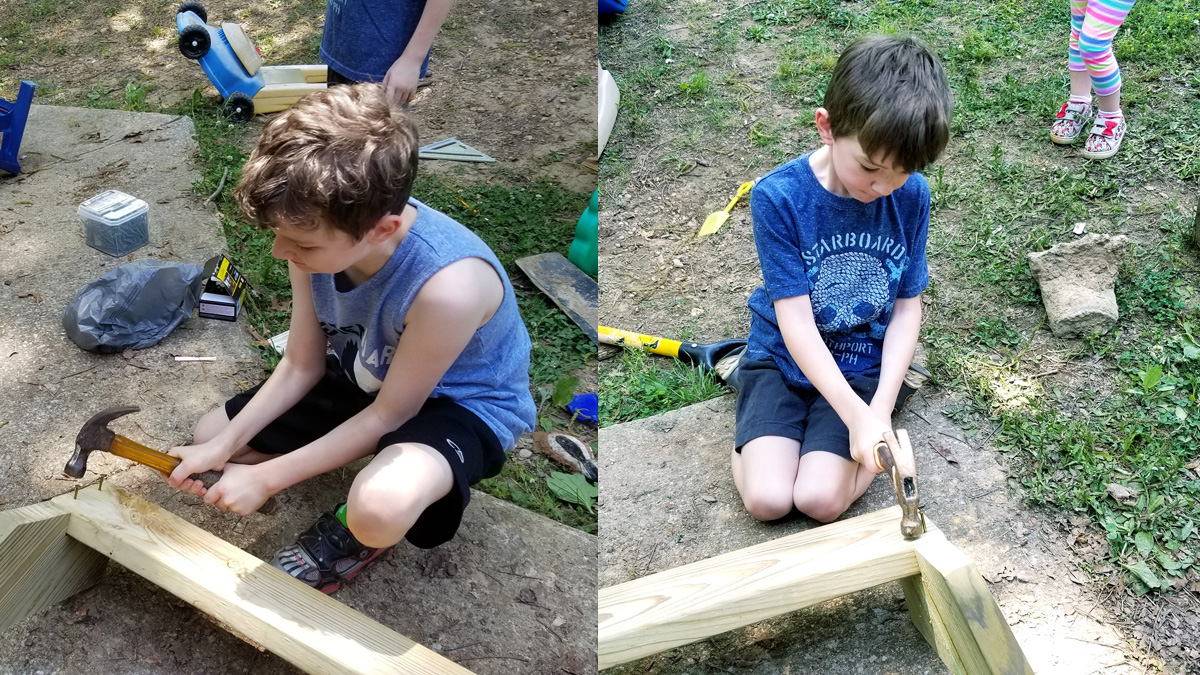 Noah and Silas helping to nail the toe board on to the stringers.
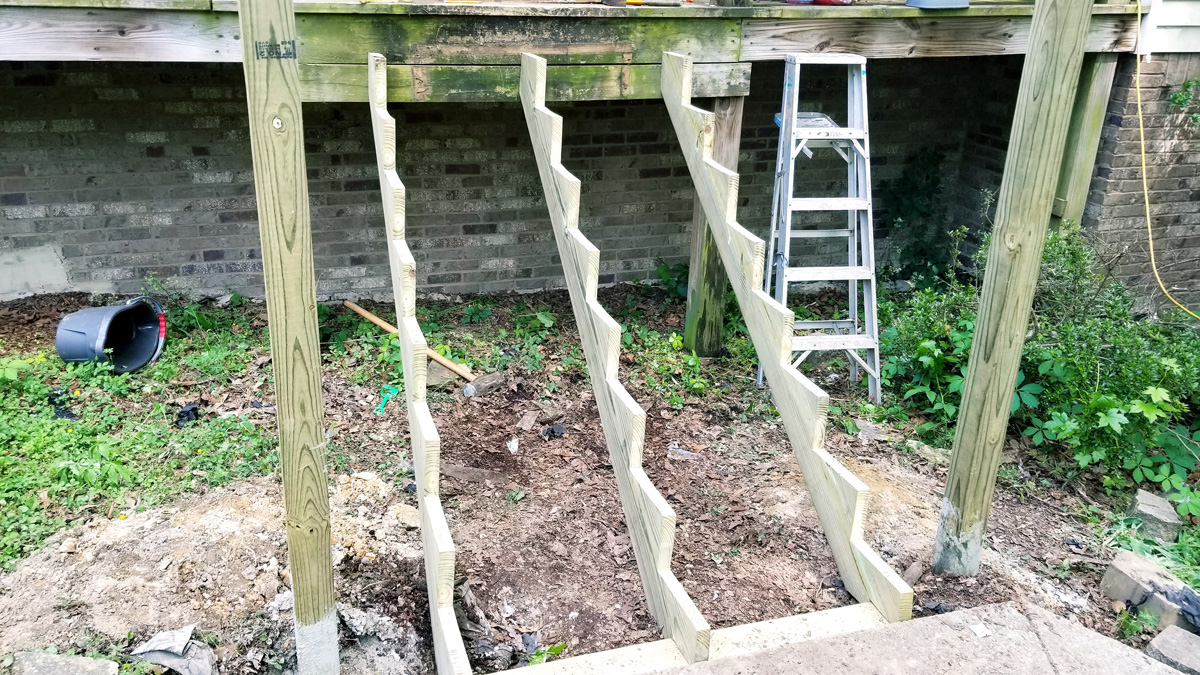 The stringer unit attached to the house.
The easiest part of the entire job was the stair treads themselves; all these required were cutting the boards to length and screwing them down to the stringers. I did discover a cracked board in the process, which required an extra trip to Lowe's... and I realized too late that laying my treads out flush on one end meant that I wasn't following the subtle curve of the stairs (see the comment above about being a half inch off). I ended up unscrewing the stair treads, centering the top and bottom treads, then pulling strings between them to use as guides on both sides.
The stairs themselves being in place was a huge win (and helped decrease the ire of my wife having to exit the house through the basement). However, my bottom step wasn't as solid as I would have liked - I hadn't dug it out perfectly level, so I had some wobble to it. There was no way I was going to disassemble everything at this point, so instead, I mixed up another bag of concrete, used my car jack to raise that side a bit, then shoveled concrete all around and under the toe board and those stringers. Once I had it all tapped in, I removed the jack and let everything settle well. Once the concrete was hardened, I had level stairs that were utterly firm!
The handrails themselves were the most time consuming part. I used 2x4 boards for the top and bottom rails, with 5/4x6 decking boards turned sideways attached to the inside of these to act as the backers for my spindles. I then trimmed spindles and attached them every four inches to complete the rails.
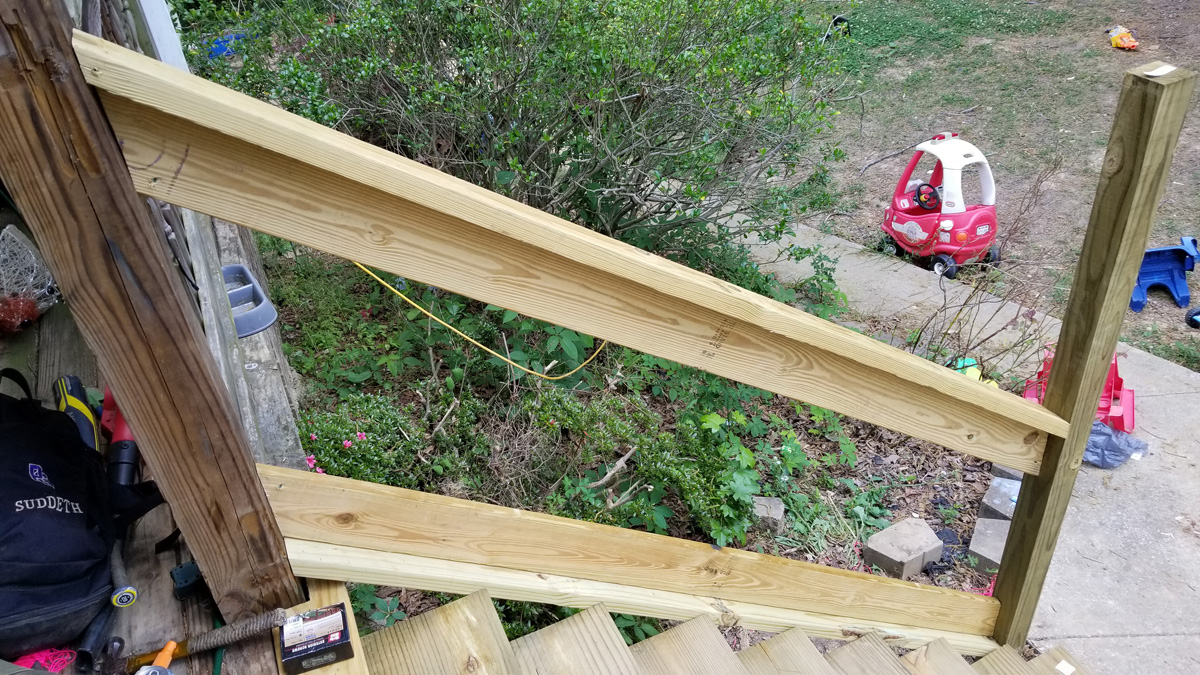 Handrail frame, before spindles are added.
The biggest challenge to the rails was getting the proper angles. After marking the posts for the proper height, I held the boards up and had the boys help me mark them. I then determined that a tilt of 35 degrees on my circular saw base was what I needed for the 2x4 boards, which I then attached with screws. The decking boards were likewise held into place and marked, then trimmed off with the circular saw. I attached the rails roughly every foot or so with screws, and also attached them to the posts with screws.
Next, I held a spindle up level, marked it, trimmed the angle, and used it as a pattern for the other twenty-five. Each spindle was placed at a four inch gap on top, screwed in place leveled, then screwed in place on bottom.
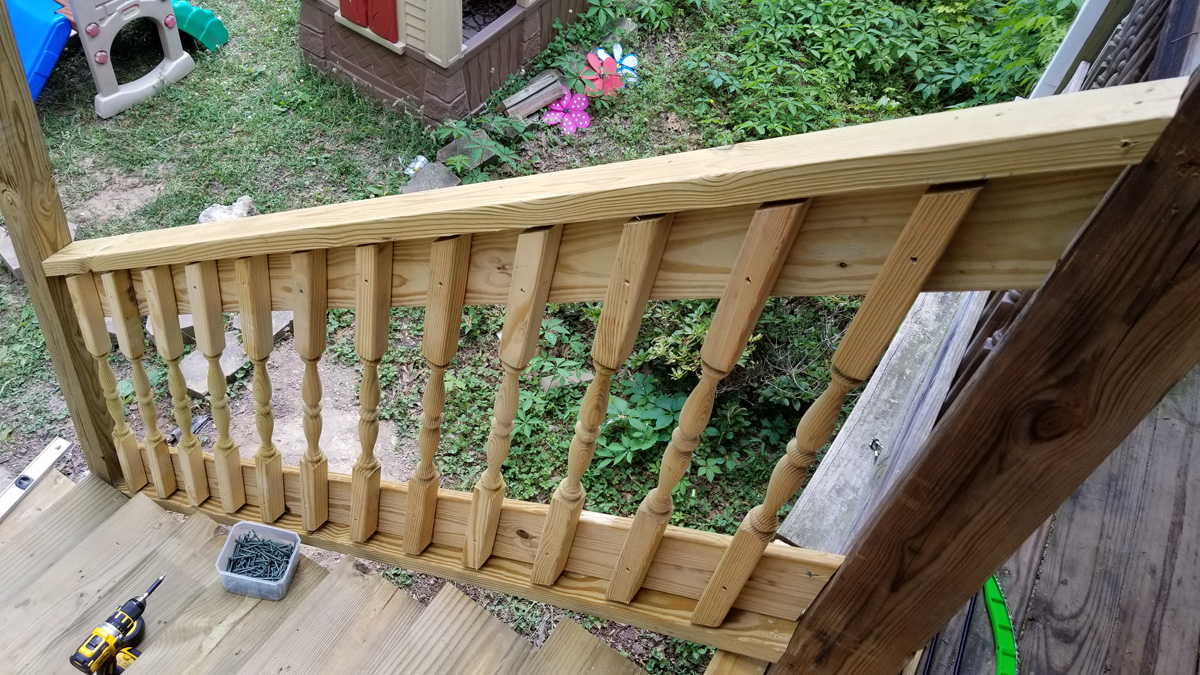 Completed handrail, with spindles.
At this point, all that was left was to trim the posts off six inches above the top of the handrails, then apply a decorative cap to each. And voila, my stairs were done!
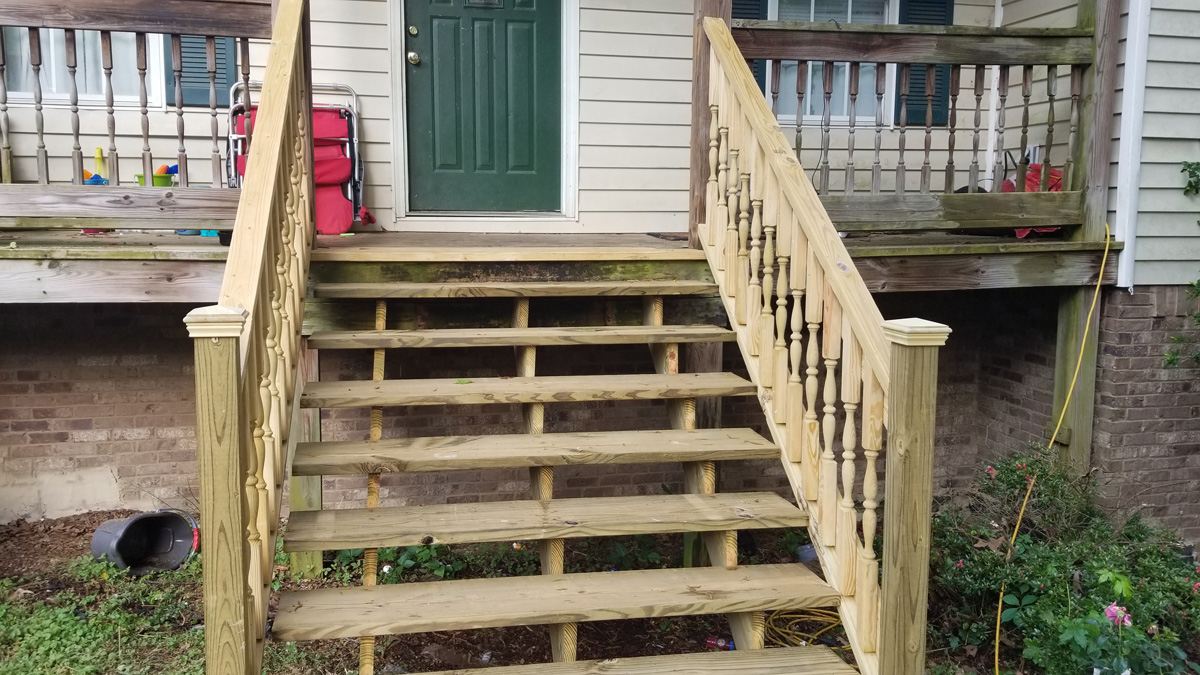 The fully finsihed, new and improved, front porch stairs.
Tags for this post: DIY, Home Improvement
Permalink
Please share this post!


If you enjoy HomeBrew Dad, please support the site by using my Amazon affiliate link when doing any shopping there. All prices are exactly the same, but HomeBrew Dad will receive a commission on your purchases. Thanks!
